What Is the Difference Between Current Transformer and Voltage Transformer
Current transformers measure current, while voltage transformers measure voltage in electrical systems for monitoring and protection.
Read More
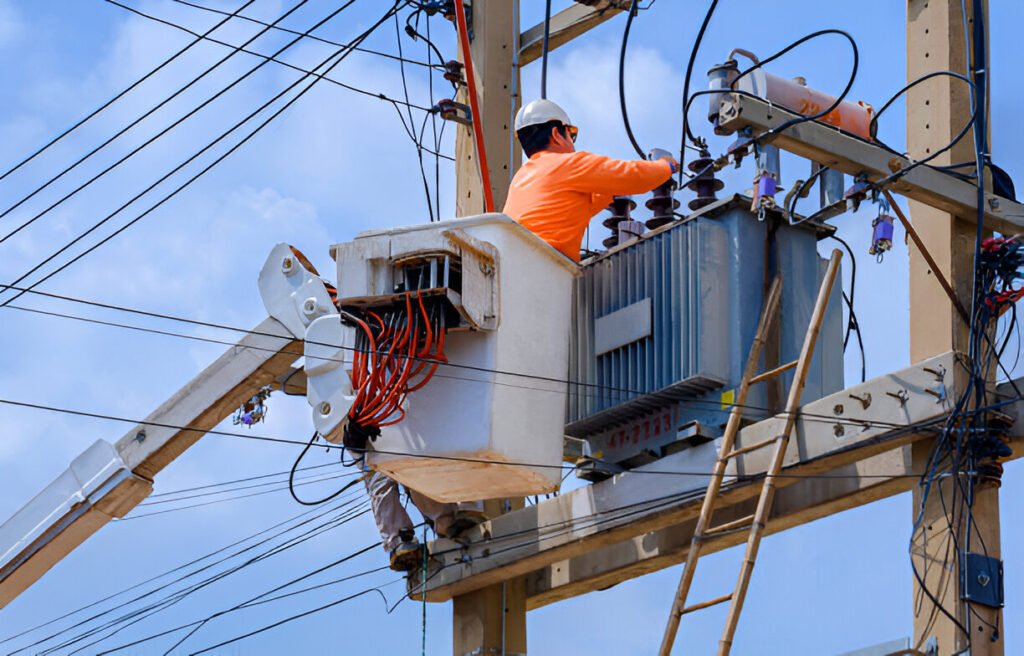
A 220 transformer is a critical component in many industrial electrical systems, ensuring the proper voltage for powering machinery and equipment. Replacing a faulty or outdated 220 transformer requires a thorough understanding of electrical principles and safety procedures to avoid costly downtime and potential hazards.
In this blog post, we will provide a step-by-step guide on how to effectively replace a 220 transformer, covering the necessary tools, techniques, and best practices.

If you notice unusual humming, buzzing, or crackling sounds emanating from your transformer, it may indicate that the core is damaged or the windings are failing. As the transformer’s internal components deteriorate, they can produce audible noise that signals the need for a replacement.
Transformers are designed to withstand normal wear and tear, but excessive damage to the exterior casing can compromise their performance. Look for signs of rust, corrosion, cracks, or oil leaks on the transformer’s surface. If the damage is extensive, it may be more cost-effective to replace the entire unit rather than attempting repairs.
Transformers generate heat during normal operation, but excessive overheating can indicate a problem. If you notice that your transformer feels hot to the touch or is emitting an unusual burning odor, it may be overloaded or experiencing internal malfunctions.
One of the primary functions of a transformer is to step down or step up the input voltage to a desired output voltage. If you notice fluctuations or inconsistencies in the output voltage, it may suggest that the transformer’s windings or core are failing. Use a voltmeter to measure the output voltage and compare it to the transformer’s specifications. If the voltage is consistently outside the acceptable range, it’s time to replace the transformer to ensure the proper operation of connected equipment.
Transformers have a limited lifespan, typically ranging from 20 to 30 years. If your transformer is approaching or has exceeded its expected lifespan, it may be prudent to replace it proactively.
If you notice that the circuit breaker associated with your transformer frequently trips, it may indicate an issue with the transformer itself. Overloading, short circuits, or internal faults within the transformer can cause the circuit breaker to trip as a safety measure. While occasional tripping can be normal, frequent occurrences suggest a more severe problem that requires attention.

One of the most common issues when replacing a transformer is incorrect wiring connections. The primary windings are typically labeled with “H” terminals, while the secondary windings use “X” terminals.
Many transformers, especially dual voltage transformers, have a selectable input voltage switch. This switch allows you to choose between 120V and 240V input. Verify that the switch is set to match your input voltage before installing the transformer.
Transformers should always be protected by properly sized fuses on both the primary and secondary sides. Using fuses with the wrong amperage rating or omitting them altogether can lead to transformer damage and safety risks.
When installing the transformer, ensure that there is adequate airflow around the unit. Avoid placing the transformer in confined spaces or near heat sources. If the transformer is mounted inside an enclosure, consider adding ventilation fans or heat sinks to dissipate the generated heat effectively.
Always choose a replacement transformer that matches the specifications of the original unit. Pay attention to the continuous rating, which indicates the transformer’s capacity to handle the required load over an extended period.
Additionally, verify that the new transformer’s physical dimensions are compatible with the available space in your setup to avoid fitment problems.
Loose electrical connections can cause arcing, overheating, and transformer failure. When connecting the primary and secondary wires, ensure that the connections are tight and secure.
Replacing a transformer is a complex and potentially dangerous task that should only be performed by qualified electricians.
Installing your own transformer is not recommended unless you have significant experience and training in electrical work.
Converting 110 V to 220 V requires a step-up transformer. The transformer takes the 110 V input and increases the voltage to 220 V output.
In general, the process can take several hours to a full day, not including time to restore power and test the system.